- Published
Clearing the Cache in Shopware 6: CLI vs. Admin Panel
Have you ever encountered a situation where changes to your Shopware 6 website weren’t reflected after adding new translations? Today, I’ll share a valuable lesson I learned about clearing the cache in Shopware 6, specifically the difference between the cache:clear command and the Clear Cache button in the Admin panel.
Understanding Cache and Redis
Shopware 6 utilizes caching to improve website performance. Caching stores frequently accessed data for quicker retrieval, leading to a faster user experience. However, when you make changes like adding translations, the cached data might become outdated, causing the website to display the old information.
In our case, the website used Redis for HTTP cache storage. This means the translations were cached for faster delivery.
The Confusion: cache:clear vs. Admin Panel
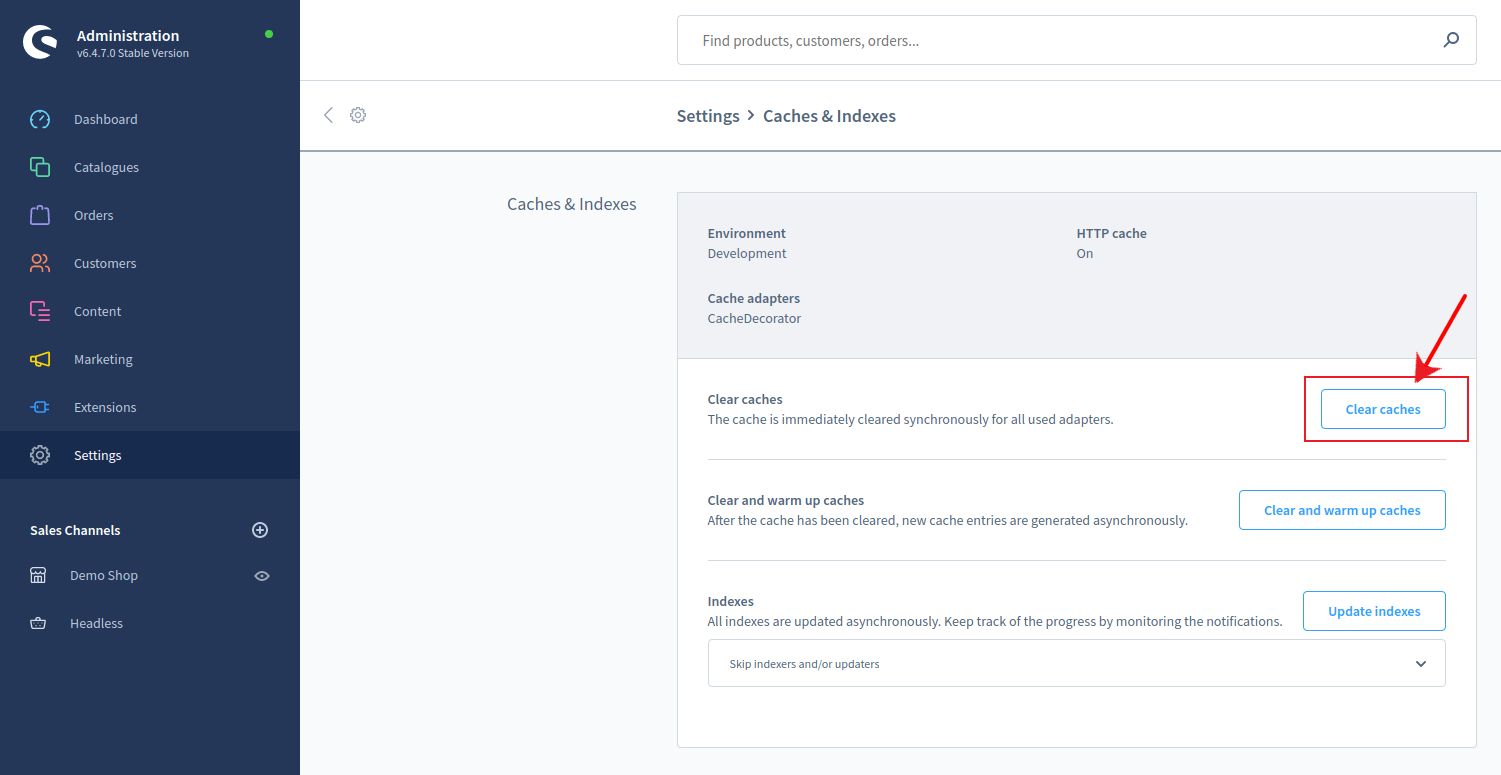
Thinking I had cleared the cache, I ran the bin/console cache:clear command. Unfortunately, after refreshing the page, the new translation wasn’t there! It was only after clearing the cache via the Admin panel (Settings > System > Caches & Indexes) that the updated translation finally appeared.

Why the CLI Command Didn’t Work
Here’s the key takeaway: the cache:clear command only deletes files within the %kernel.cache_dir% directory. This directory doesn’t include the Redis cache used for HTTP storage in our scenario.
The Solution: Clear Cache via Admin Panel
If you’re using Redis for the app cache and Redis/Varnish for the HTTP cache, the cache:clear command won’t suffice. To ensure all caches are cleared, including the ones stored in Redis/Varnish, you need to use the Clear Cache button in the Shopware 6 Admin panel. This approach guarantees that all cached data is cleared, allowing your website to display the latest updates, including your new translations.